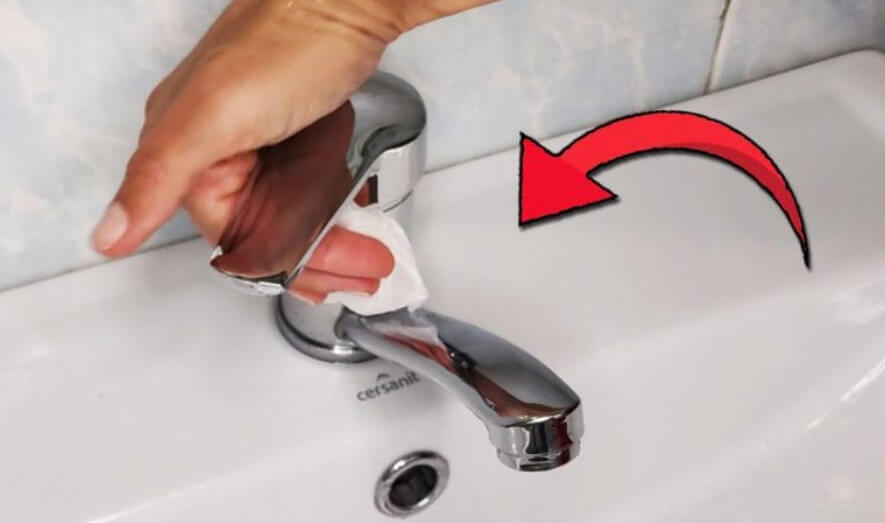
How to Remove Dullness from Faucets and Make Them Shine Like New Again
How to Remove Dullness from Faucets and Make Them Shine Like New Again
Have you ever cleaned your bathroom or kitchen from top to bottom, only to notice that your faucets still look dull, cloudy, or covered in stubborn white spots? It’s easy to overlook faucets during regular cleaning, but they actually need a little extra attention to keep their beautiful finish.
Over time, mineral deposits from hard water can build up on faucet surfaces, leaving behind a chalky film that makes even relatively new fixtures look old and neglected. These deposits, commonly known as limescale, are especially noticeable around the faucet base, handles, and spout.
Fortunately, you don’t always need expensive cleaning products to bring back their shine. A few simple household ingredients can help remove mineral residue, clean away everyday buildup, and make your faucets look much better.
Today, we’re sharing several easy cleaning methods using ingredients you may already have in your kitchen. Whether you’re dealing with cloudy spots, light limescale, or a dull-looking finish, these simple tips can help restore a cleaner appearance to your faucets.
Important: Always check your faucet manufacturer’s cleaning instructions before trying any homemade remedy. Some finishes require special care, and certain cleaning ingredients can cause permanent damage.
1. Baking Soda
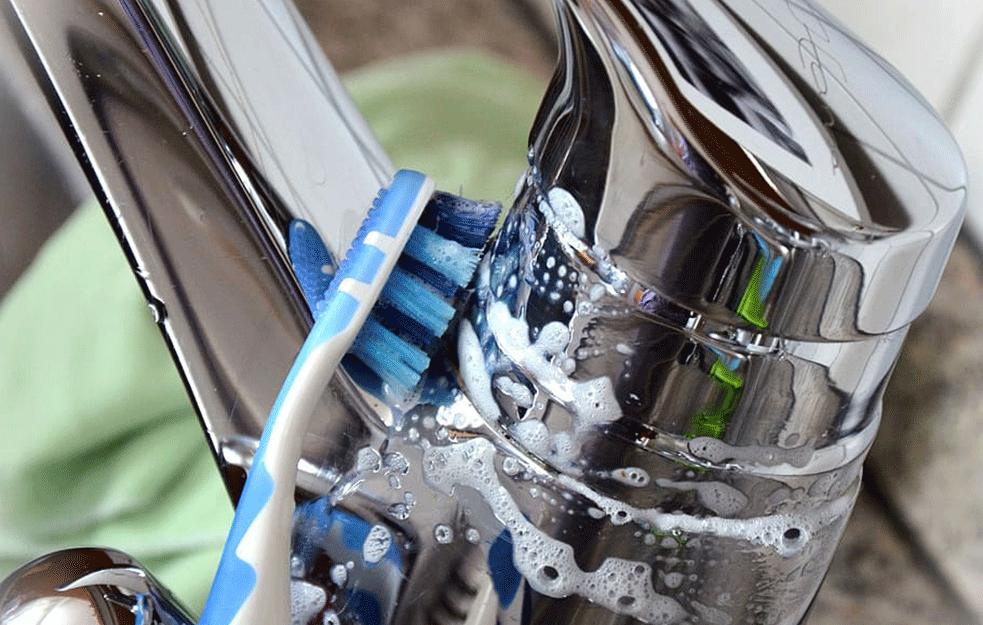
Baking soda is a versatile household ingredient that many people use for everyday cleaning. Its mild abrasive texture can help loosen certain types of surface residue and light buildup.
To try this method, mix a small amount of baking soda with warm water until you form a smooth paste.
Apply a little of the mixture to the dull areas of the faucet using a soft microfiber cloth. If necessary, use a soft toothbrush to gently clean around the base and other hard-to-reach areas.
Avoid scrubbing aggressively, as even mild abrasives can scratch delicate faucet finishes.
Once you’ve finished cleaning, rinse thoroughly with clean water and dry the entire faucet with a soft cloth.
A helpful tip: Always test the mixture on a small, hidden area first. Avoid baking soda on delicate, coated, matte, or easily scratched finishes unless the manufacturer specifically approves it.
2. White Vinegar
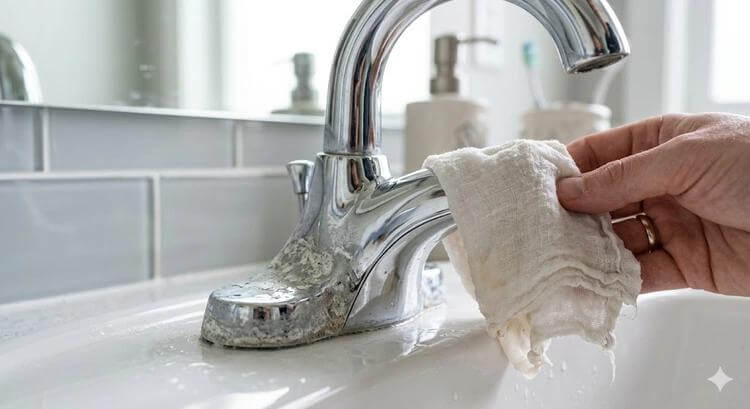
White vinegar is another popular household cleaning ingredient. Its acidity can help dissolve mineral deposits caused by hard water, making it useful for certain chrome faucets.
Start by pouring a little white vinegar onto a soft cloth. Gently wipe the affected areas, paying particular attention to visible mineral spots.
For stubborn deposits around the faucet spout, you can hold a vinegar-dampened cloth against the affected area briefly, provided the faucet manufacturer allows vinegar on that finish.
Afterward, rinse the faucet thoroughly with clean water and dry it with a microfiber cloth.
You’ll notice that removing mineral residue can make the faucet look much cleaner and brighter.
Important: Never use vinegar on marble, natural stone, or acid-sensitive surfaces. Avoid prolonged contact with faucet finishes, rubber seals, and other delicate components. Never mix vinegar with bleach or chlorine-based cleaners.
3. Lemon
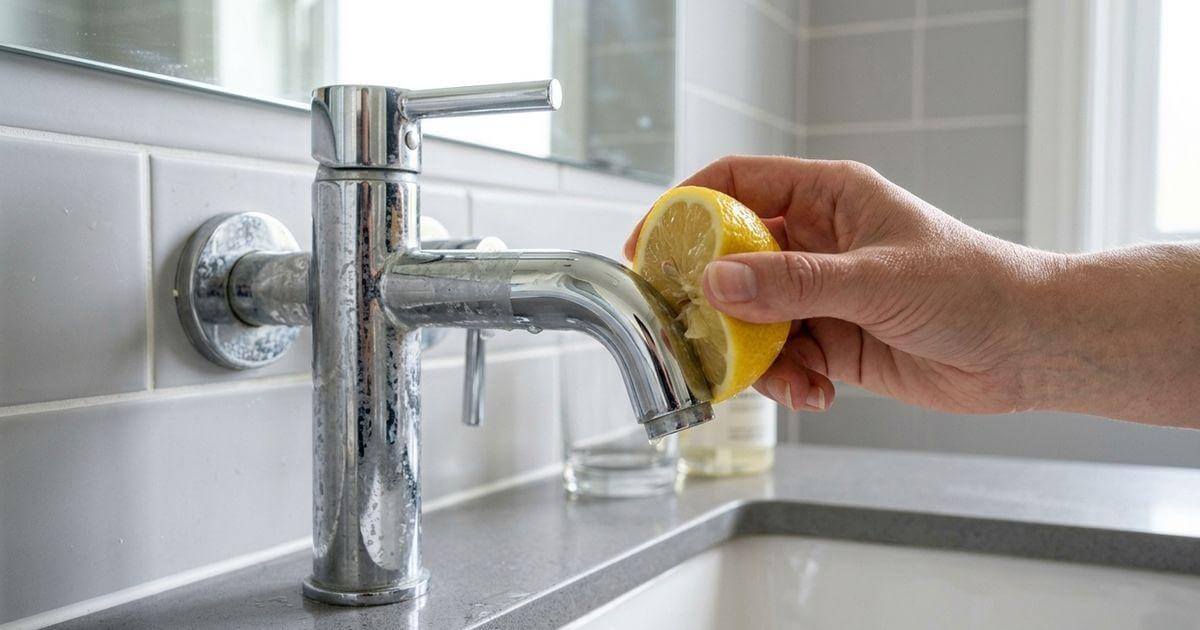
Lemon is another familiar ingredient that contains citric acid, which can help dissolve certain mineral deposits.
If your faucet has light limescale buildup, lemon may seem like a convenient cleaning option.
To try this method, squeeze a little fresh lemon juice onto a soft cloth and gently wipe the affected area. Avoid rubbing the lemon directly against delicate finishes.
Leave it on only briefly if the manufacturer confirms that the surface is compatible with acidic cleaners. Rinse thoroughly with plenty of clean water and dry with a soft microfiber cloth.
For an extra cleaning boost, some people combine lemon juice with baking soda. However, mixing the two largely neutralizes their acidity, so it isn’t necessarily more effective against limescale.
Important: Do not use lemon on marble, natural stone, or acid-sensitive surfaces. It can also damage certain plated, brushed, or protective faucet finishes.
4. Citric Acid
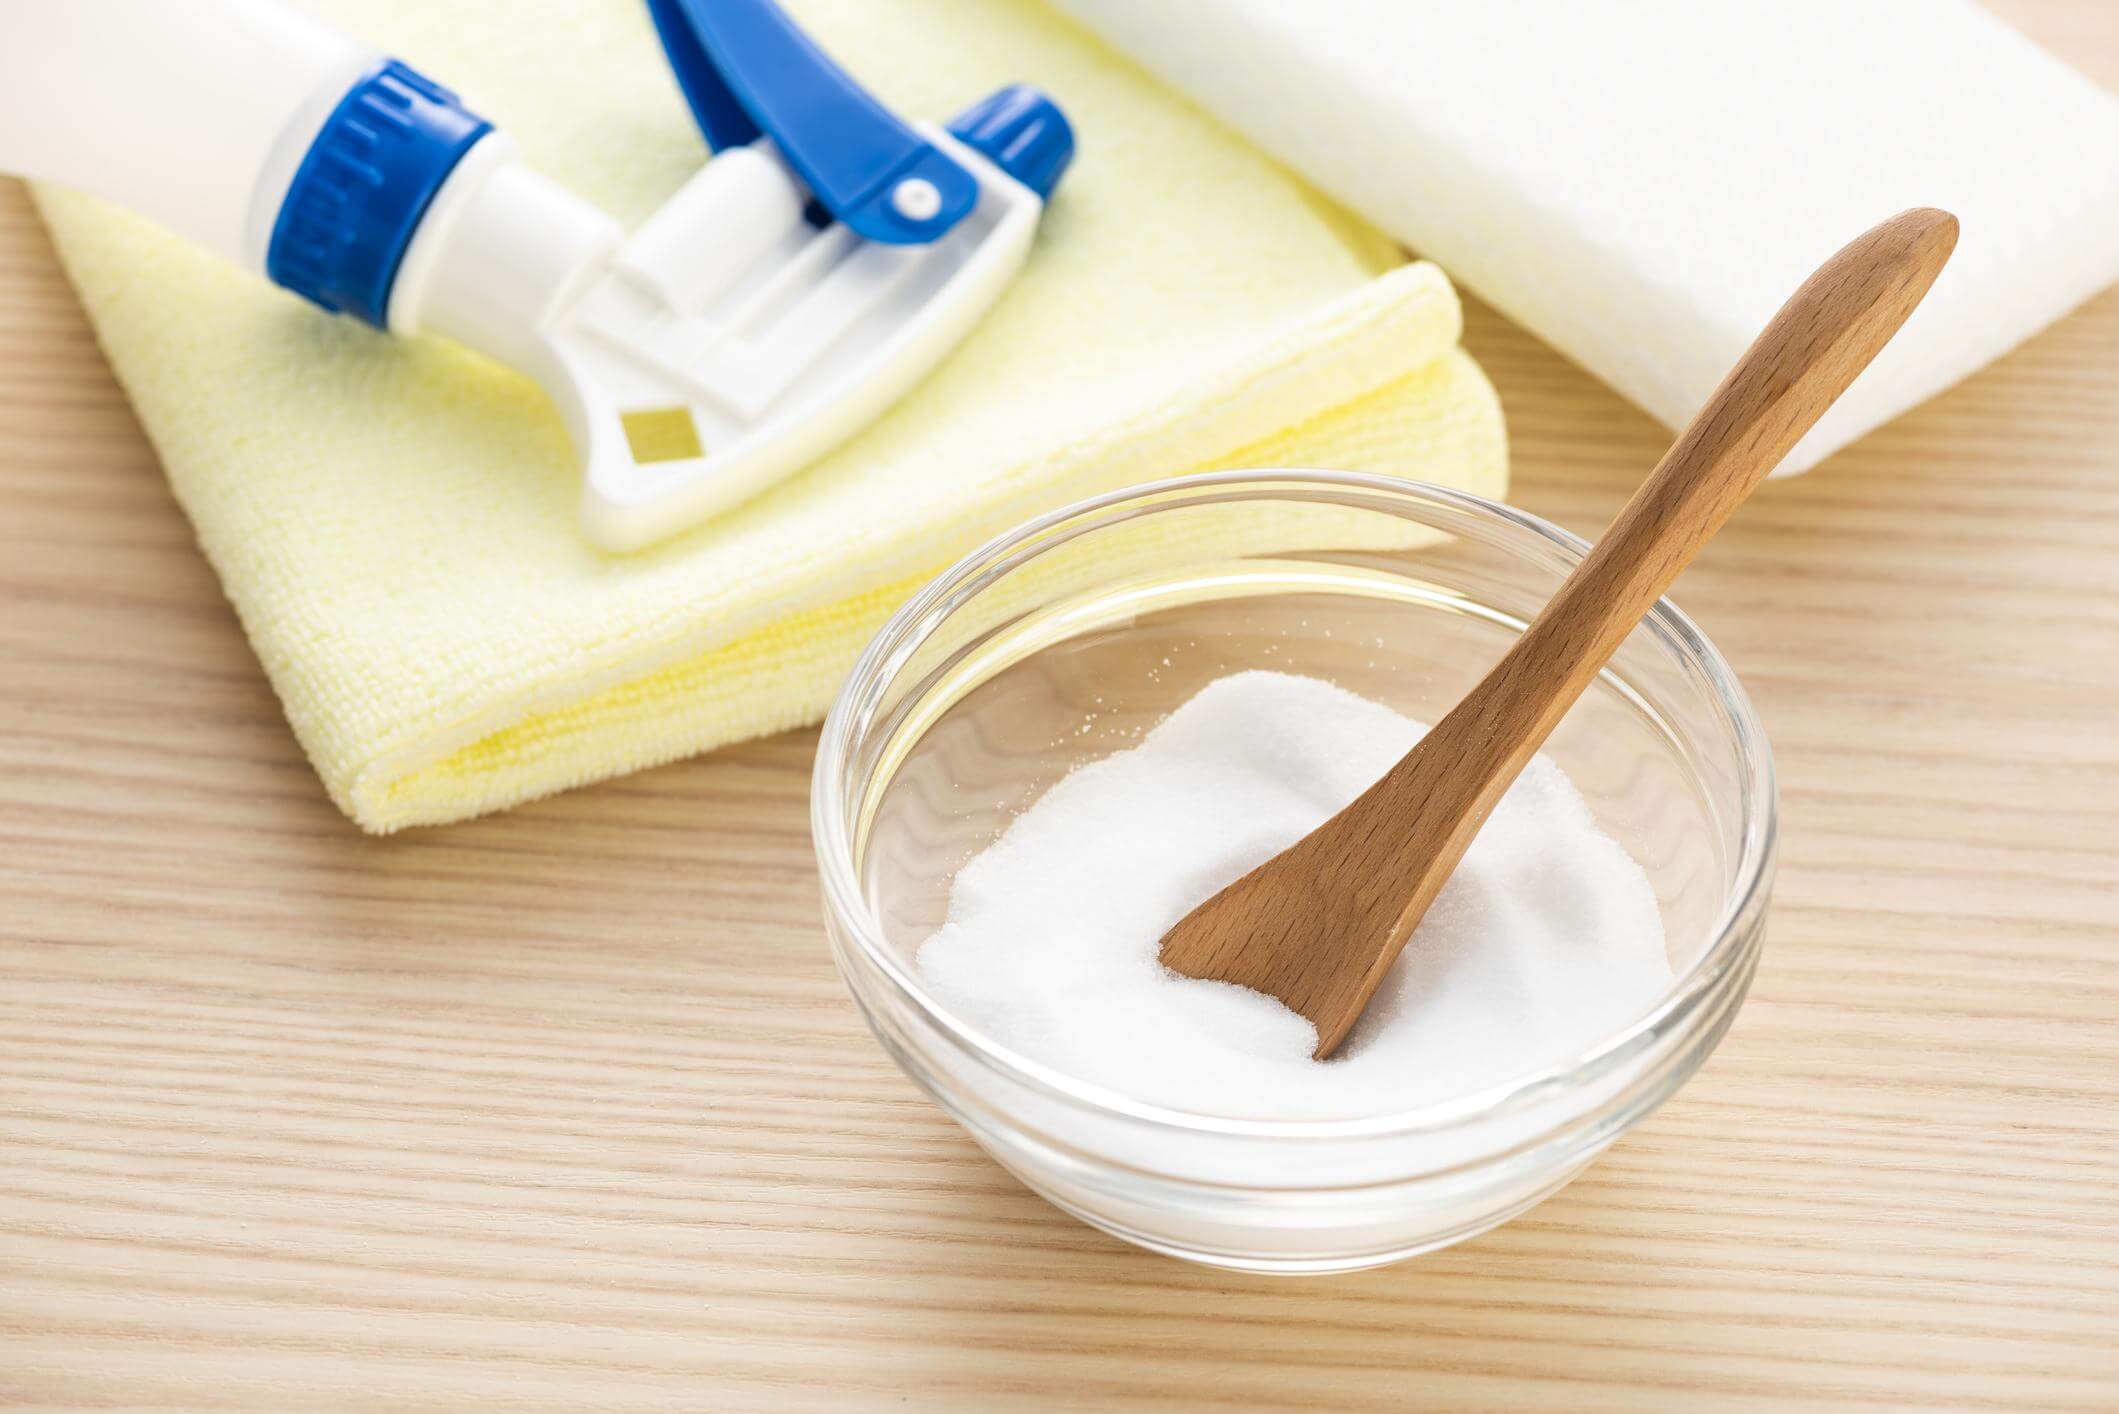
If you prefer an alternative to vinegar, citric acid is another ingredient commonly used to remove mineral deposits.
It is naturally present in citrus fruits and is often included in household descaling products.
For a compatible, acid-resistant surface, follow the dilution instructions on the citric acid product label. Apply the diluted solution with a soft cloth rather than spraying it directly onto the faucet.
Allow it to work only for the recommended contact time, then rinse thoroughly with clean water and dry completely.
Citric acid can be useful for removing certain limescale deposits, but it isn’t suitable for every faucet material.
A word of caution: Like vinegar and lemon juice, citric acid should never be used on marble, natural stone, or other acid-sensitive materials. Always check the manufacturer’s recommendations before applying it.
5. Flour
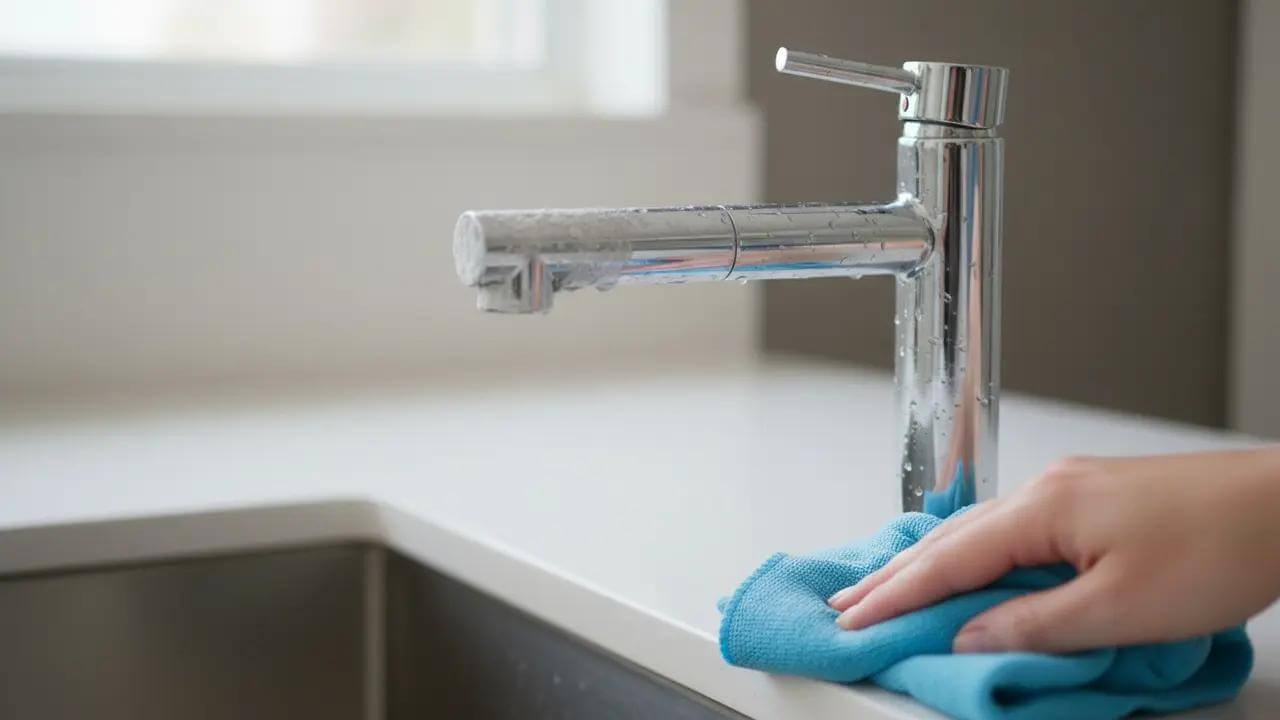
This next cleaning trick may sound a little unusual, but flour is sometimes used as a gentle polishing aid for certain metal surfaces.
Unlike acidic cleaners, flour doesn’t dissolve limescale. Instead, it can help absorb light oily residue and buff an already-clean surface.
To try this method, make sure the faucet is completely dry.
Sprinkle a very small amount of plain flour onto a soft, dry microfiber cloth. Gently buff the compatible faucet surface using circular motions.
Once finished, remove all the flour with a clean, dry cloth.
Be careful not to let flour enter the faucet opening, drain, or other small gaps, as it can accumulate and create a mess.
This trick is best reserved for suitable, smooth metal surfaces rather than delicate or textured finishes.
6. Olive Oil
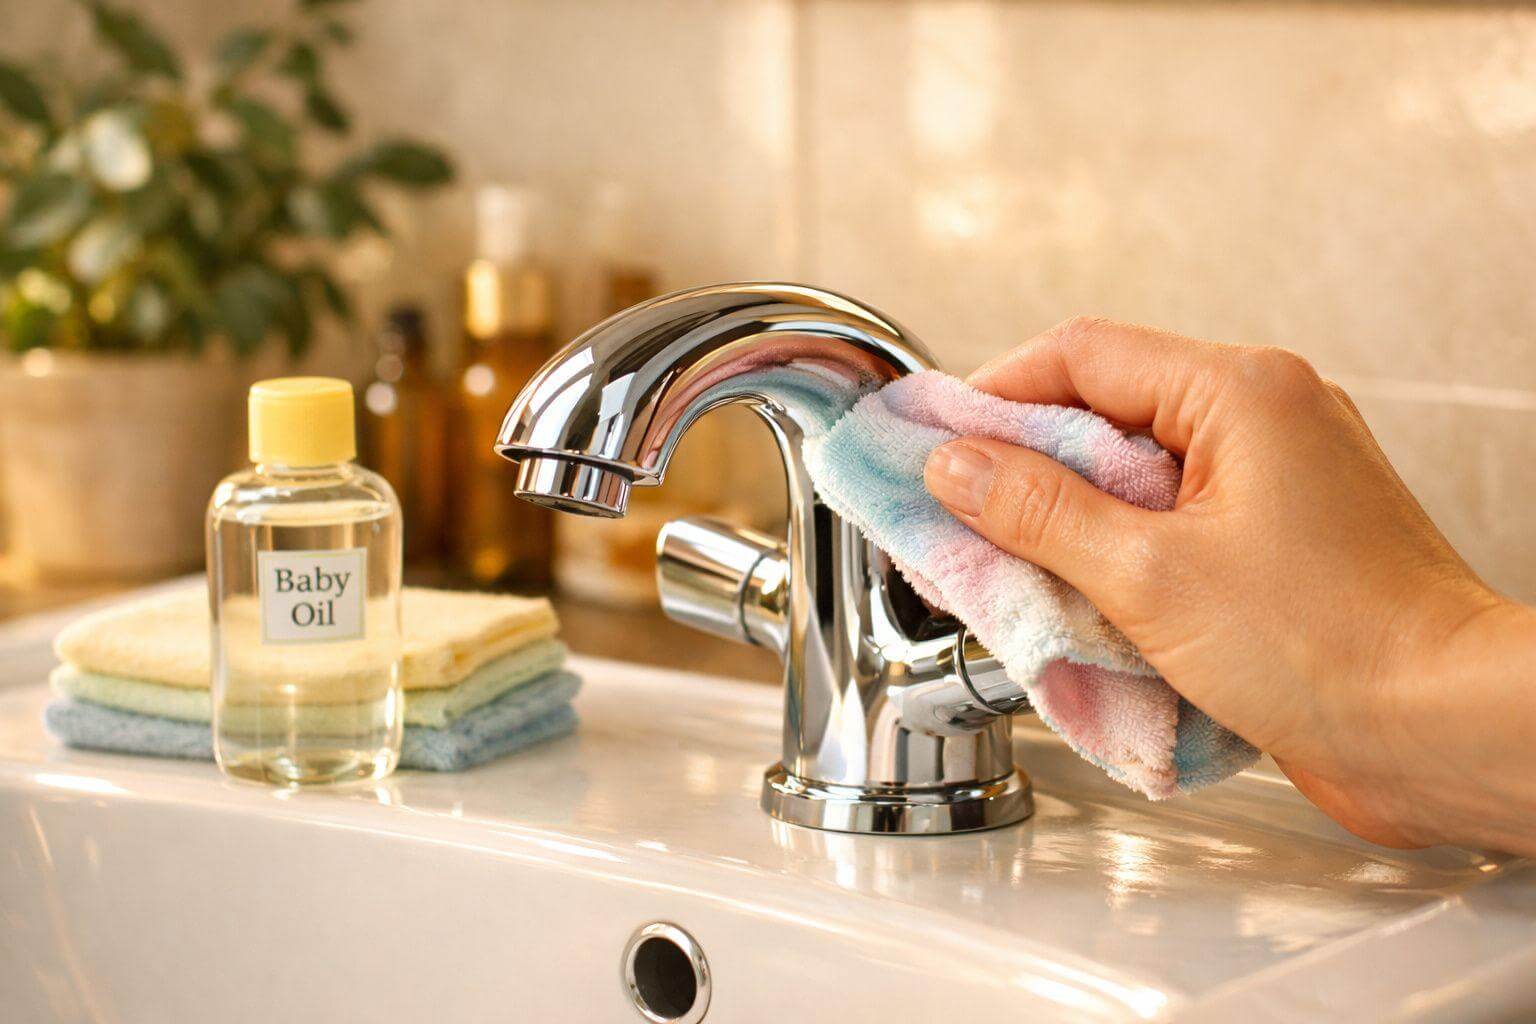
Olive oil is sometimes used as a finishing trick to give certain metal surfaces a temporary polished appearance.
However, it doesn’t remove limescale or actually restore damaged faucet finishes. It can leave behind an oily film if too much is applied.
If you want to try it, first make sure the faucet is completely clean and dry.
Put just one tiny drop of olive oil onto a microfiber cloth and gently wipe a compatible polished metal surface.
Immediately buff away any excess oil using another clean, dry cloth until the surface feels smooth and no greasy residue remains.
Avoid using olive oil on faucet handles, textured surfaces, matte finishes, or areas where a slippery surface could create problems.
For most everyday faucet cleaning, a clean microfiber cloth and water are a better finishing choice.
Extra Tips to Keep Your Faucets Shiny
A little regular maintenance can make a big difference in preventing mineral buildup and keeping your bathroom and kitchen fixtures looking clean.
Here are some simple habits worth adding to your cleaning routine:
– Dry After Use: Wipe faucets with a soft microfiber cloth after cleaning or whenever you notice water droplets.
– Clean Regularly: Don’t wait until thick mineral deposits appear. Gentle, regular cleaning is usually easier than removing stubborn buildup.
– Avoid Harsh Scrubbers: Steel wool, rough scouring pads, and abrasive brushes can scratch the faucet surface.
– Check Your Water: Hard water can leave mineral spots more quickly, so drying the faucet regularly can help reduce visible deposits.
– Choose Gentle Products: Use cleaning products specifically approved for your faucet’s material and finish.
– Clean Around the Base: Water often collects around the faucet base and handles, making these areas more likely to develop mineral deposits.
Frequently Asked Questions
Why do my faucets look dull even after cleaning?
Hard-water mineral deposits, soap residue, and everyday grime can leave a cloudy film on faucet surfaces. Sometimes, however, the original finish may be scratched, worn, or damaged rather than simply dirty.
What is the easiest way to remove white limescale spots?
For compatible faucet finishes, a manufacturer-approved limescale cleaner is usually a good option. Always follow the product instructions and rinse thoroughly afterward.
Can I use baking soda on chrome faucets?
Baking soda is mildly abrasive, so it may scratch certain chrome-plated or delicate finishes. A soft cloth and an approved chrome cleaner are safer choices unless the manufacturer confirms baking soda is suitable.
Does vinegar make faucets shine?
Vinegar can dissolve mineral deposits on some acid-resistant surfaces, helping the faucet look cleaner. However, it can damage certain coatings, natural stone, and delicate finishes.
How often should I clean my faucets?
A quick wipe with a microfiber cloth every few days can help prevent water spots. A more thorough cleaning once a week is generally sufficient for many households, depending on water hardness and daily use.
Can olive oil remove limescale?
No. Olive oil does not dissolve mineral deposits. It may temporarily improve the appearance of certain polished surfaces, but it should only be used sparingly and when compatible with the faucet finish.
What should I avoid when cleaning bathroom faucets?
Avoid abrasive scouring pads, steel wool, bleach mixtures, strong acids, and harsh chemicals unless specifically approved by the manufacturer. Never mix different cleaning products.
Final Thoughts
Keeping your bathroom and kitchen faucets clean doesn’t have to involve expensive products or complicated routines. A little regular attention, the right cleaning method, and a soft microfiber cloth can go a long way toward maintaining their appearance.
Whether you’re dealing with water spots, light mineral buildup, or everyday dullness, the most important thing is choosing a cleaning method that suits your faucet’s material and finish.
Remember to rinse away cleaning products thoroughly and dry the surface after every cleaning session. With a few simple habits, your faucets can stay looking fresh, clean, and well cared for throughout the year.
Disclaimer: These cleaning suggestions are general household tips, not guaranteed solutions for every faucet. Always follow the manufacturer’s care instructions and test any approved cleaning product on an inconspicuous area first.